Activities, Crafts
Make a Roly birdfeeder
Make your very own Roly bird feeder.

Things you will need:
Note: Make sure a grown up helps with scissors and small pieces.
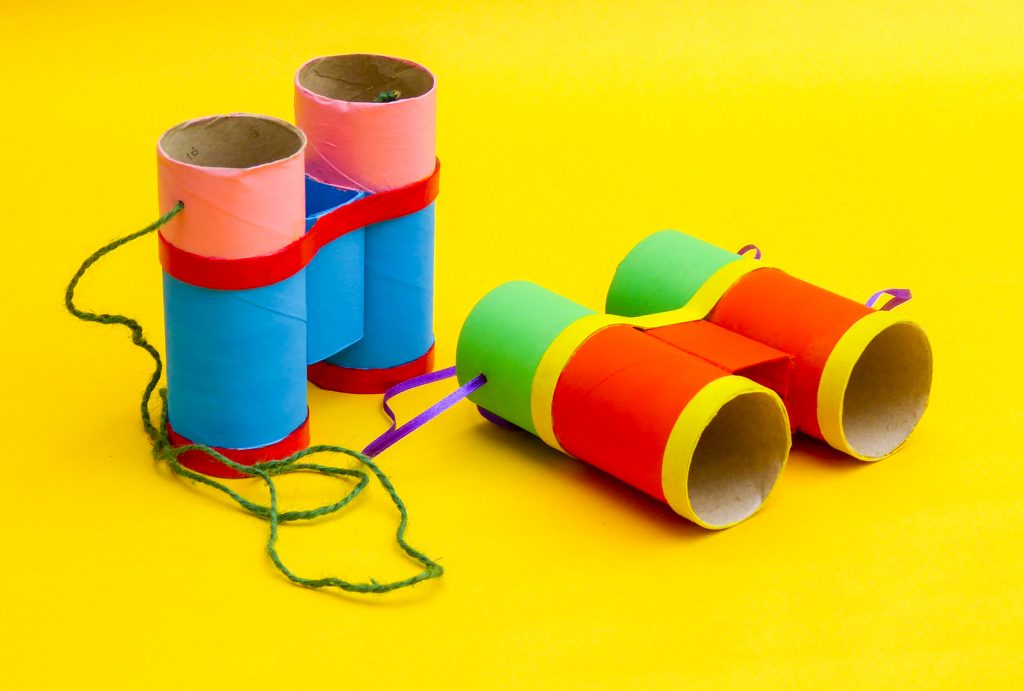
Step 1. Using the thin card cut out two strips 1cm wide and long enough to fit around one end of the tubes. Glue these in place.
Step 2. To make the central piece, you will also need to cut a piece of card 5cm x 15cm. Make a mark with your pencil at 3cm intervals and fold along these lines. Overlap and glue the first and last sections to create a 4-sided tube. Gently squash this piece and glue the squashed sides to the tubes to join them together. Leave to dry.
Step 3. Cut another 1cm strip from the thin card long enough to fit round both tubes and the central piece. Glue this strip in place level with the edge of the centre piece. This will help to keep the binoculars sturdy. Leave to dry.
Step 4. The binoculars are now ready for painting. You can use as many colours as you like. Leave to dry.
Step 5. If you’d like to wear the binoculars around your neck you can make an easy strap using string or ribbon. Ask an adult to make a small hole about 2cm from the top on each side of the binoculars. Thread the string through the holes and secure with a knot on the inside of the tubes.
Step 6. Have fun bird watching!