Activities, Recipes, Easter
Make An Amazing Duggee Easter Cake: Recipe by Steven Carter Bailey
Bake your own show stopping Duggee Easter Cake! Recipe by Steven Carter Bailey!

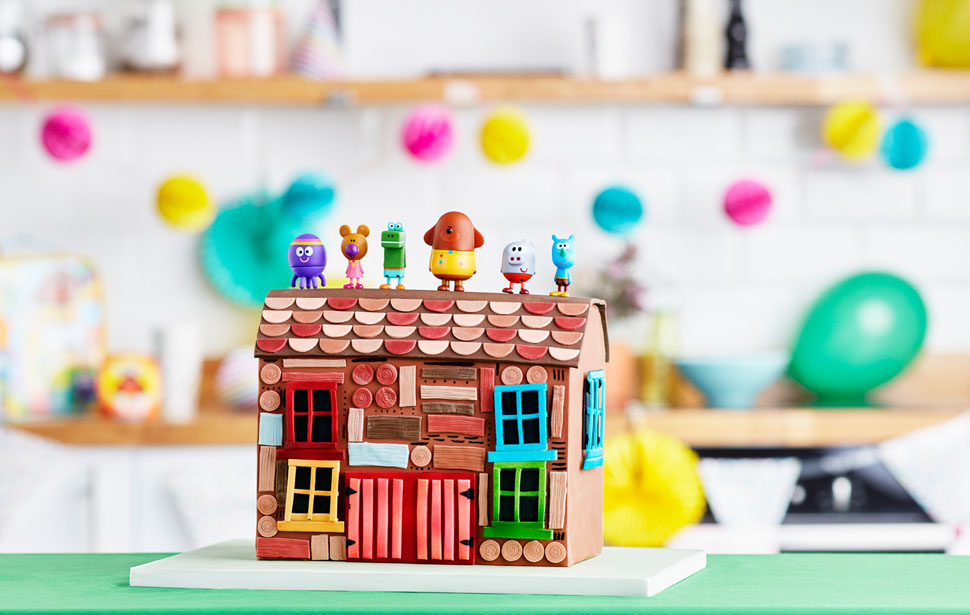
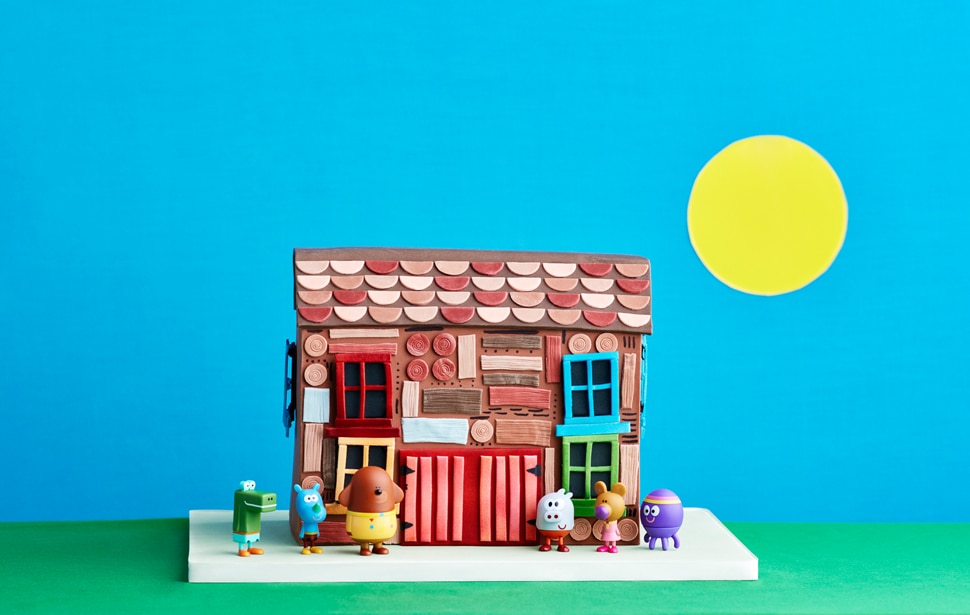
Great British Bake Off star Steven Carter-Bailey created this awesome Clubhouse cake. Here’s the recipe!

This recipe is very versatile and allows you to add or remove elements that suit you and your diet. As an example, if you would like to use eggs in your recipe, then replace the soya milk and lemon juice with two large eggs. The vegan spread can be replaced with butter and if you desire, the golden syrup can be substituted for honey. Soya milk can also be replaced with any dairy alternative, such as oat or almond milk.
This recipe makes one large sponge, but I would recommend making two and cutting them into three rectangles to stack into the shape of the Clubhouse.
Note: Make sure you have a grown up with you to help with baking!
300ml unsweetened soya milk
1 tbsp lemon juice
150g vegan spread – available from most supermarkets
75g golden syrup
1 tsp vanilla extract
325g self-raising flour
175g caster sugar
1 tsp bicarbonate of soda
Various fondant colours (inc white) and piping colours
200g vegan spread
400g icing sugar
1-2 tsp vanilla extract (optional)
Jam of your choice (optional)

For this recipe I used a 13” x 9” cake tin, greased and lined with baking paper.
Preheat your oven to 180°c/350°f or gas mark 4.
Start by adding the lemon juice to the milk and setting aside to allow the mix to curdle. Don’t be alarmed, this is what we are looking to achieve. This method replaces the eggs, but still gives you a light and fluffy sponge.
Melt the spread and the golden syrup in a small saucepan over a medium heat. Once melted, remove from the heat and stir through the vanilla extract.
Sift together the flour, bicarbonate of soda and sugar in a large bowl. Make a well in the centre and add the cooled spread mix as well as the milk and lemon juice. Work very quickly and stir together the ingredients until just combined. Be sure not to over-work the mixture.
Immediately pour the mix into the cake tin and give the tin two gentle taps on the worktop before placing in the oven.
Bake the cake in the centre of the oven for 25-35 minutes or until it is spongy to the touch and has a lovely golden colour.
Allow the cake to cool in the tin for 5-10 minutes before transferring to a wire rack to cool completely.
Using a hand whisk or a stand mixer, whip the spread, vanilla extract and icing sugar together until pale and fluffy.
After baking…
Find yourself a flat surface to work on, (ideally the final resting place for your cake). A big square or rectangular cake board is ideal for arranging the cake on and can be found online or at a cake craft store.
Take your two large sponges and cut them width ways into 6 rectangles. Dab a little bit of your frosting onto the base of the cake board and lay your first cake on top (this stops the cake slipping too much whilst you cover it in frosting).
Spread a little jam on the sponge, followed by a layer of the frosting (a palette knife is ideal for spreading this out). Smooth the frosting and place another sponge on top, repeating the same process as before. When you have stacked all six sponges on top of one another you might want to straighten it out and even run a few bamboo skewers through the centre of the cake to keep everything in place. Place the cake in the fridge for 30 minutes to set the frosting.
Remove the cake from the fridge and use a sharp (or serrated) knife to trim the shape of the roof. This is a triangular shape with a flat top.
Cover the entire cake in a thin layer of frosting and smooth with your palette knife. Return the cake to the fridge for another 30 minutes.
To make the various shades of brown, the best method is to knead raw cocoa powder into white fondant. This gives a natural brown colour to the fondant and you can mix in other colours to gives lots of variation.
For the roof it is best to use modelling paste as it eventually dries hard– it will give you nice sharp lines and a flat surface to work on.
To cover the clubhouse, split your brown fondant into three pieces – two each for the sides and one large piece to cover the front and back. Roll out the pieces on a clean surface, lightly dusted with icing sugar or cornflour. Cover the sides of the cake first and use a very sharp knife to trim the excess. Repeat this process for the front and back of the cake, ensuring you smooth the fondant surface as much as possible.
For the roof, roll out your brown modelling paste into a long rectangle and trim to fit the size of the roof, with a little overhanging. Gently lay the roof piece on top of the cake using your rolling pin to lift it if need be.
For the doors and windows, I used coloured fondant pieces and stuck them onto the cake using ready made royal icing (you can buy this from a supermarket in the sugar section).
The windows can be made by sticking strips of coloured fondant on top of black fondant squares and leaving to dry before sticking to the side of the cake. If you prefer, you can pipe the coloured frames on top of the black fondant to save time.
The door is a large piece of red fondant that was left to dry before sticking on strips of pink fondant and then sticking to the cake.
For the roof tiles and the planks of wood for the front of the cake I mixed together all sorts of different shades of brown, green, red, yellow and blue fondant. The only cutter needed was a round one for the roof tiles and I cut the circles in half before sticking them on.
For the little decorations on the front of the cake, I used a sharp kitchen knife and the small round cutter to cut out the shapes. I used different shades of fondant and let them dry before sticking them onto the cake. It is a bit of a fiddly job, but it’s a great effect for the final cake.
For that final flourish, you can always cover the cake base in green fondant and lift the cake on top of this. It’s a great way to give the final cake a true Duggee look.